Orienting Yourself in Visible Geology
https://app.visiblegeology.com/
Part 1: Building Some Geology
Let’s start by building a geological block diagram that we can use to explore the relationship between geology, topography, subsurface data and maps.
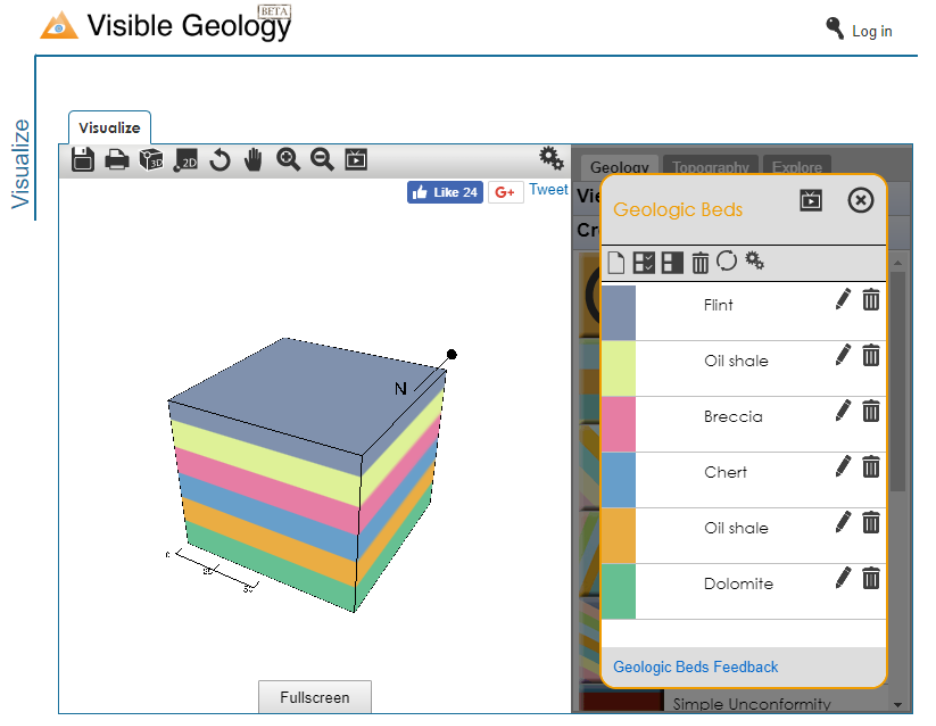
Click on Geologic Beds and add six beds by clicking on the New button six times. Click the refresh button to eliminate the pixilation that occurs when the beds are added. Don’t worry about the naming of the units or their colours; yours may be different than those depicted below.
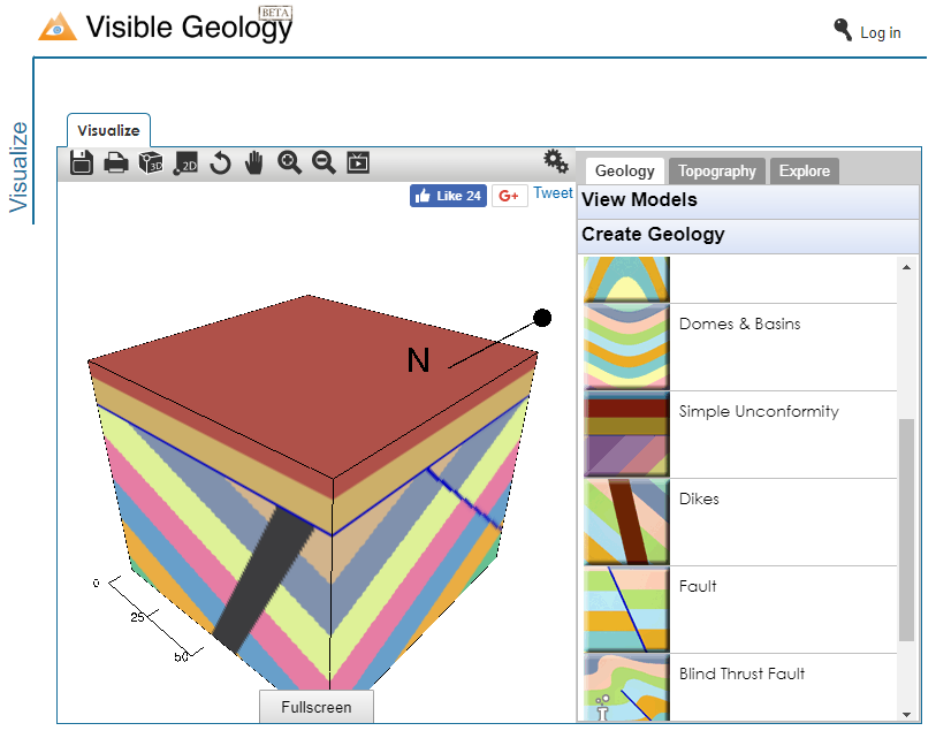
We are now going to intrude a dike into the block and cut all of it with a normal fault. Click on Dikes and a dike with strike 160° and dip of 75°. Then click on Faults and add a fault with strike 250° and dip of 70°.
We are now going to tilt the geology we’ve created to simulate mountain building. Click on Tilting and add a tilt with strike 50° and dip 30°.
Now let’s erode the top of the block and form a simple, horizontal unconformity. Click on Simple Unconformity and use a Depth of 20 and a Bed Thickness of 10. Some new beds will be drawn on top of the unconformity. You should now have a block diagram that looks something like this one.
Part 2: Observations in Map, Borehole and Cross-Section
Rotate the section into a map view by pushing the 2D button in the left pane.
What parts of the geological history can we observe using only the map (2D) view?
Boreholes (wells) drilled into the earth for exploration or to access groundwater are useful tools for gathering subsurface geological information. On the Explore tab click on Drill and drill a borehole in the center of the block. The resulting borehole information is a bit blurry but provides us with information in the third dimension not visible in map view.
What parts of the geological history can we observe using the borehole?
Geophysical methods (seismic, gravity, resistivity, conductivity etc.) allow us to “see” into the subsurface and observe geological features (faults, intrusions, sedimentary layers) that may not be visible at surface. Let’s simulate some geophysical observations by cutting a cross-section through the block model to get a different 2D view of the geology we’ve created.
On the Explore tab click on Cross-section and draw a north-south oriented cross-section through the center of the block model. Make sure it goes through the borehole that you drilled previously.
What parts of the geological history can we observe using the (2D) cross-section?
Part 3: Now create your own
- Go to http://www.visiblegeology.com/ .
- Click on “Visualize”.
- Start adding “Geologic Beds”
- Use the other buttons (Tilting, Folds, Domes and Basins, Simple unconformity, Dikes, Faults) to make a geologic section. Play with all the buttons listed to get an idea of what each one does. This will also help you do your interpretation for next class.
- Create a history using up to 5 different phenomena (a continuous series of Geologic Beds is considered one phenomenon).
- Add “Topography” of your choice.
- Record the history.
- Take screen shots of different angles of the section and save them to a document.
- Have that document on hand at our next class
References